Installing a solar power system is a smart step toward saving electricity costs and using clean energy. Understanding the solar installation process helps you know what to expect and ensures a smooth experience. At Shreeji Solar, we follow a structured and transparent installation process for reliable and long-lasting results.
Step 1: Site Inspection & Energy Assessment
Our experts visit your location to analyze roof or land space, sunlight availability, and electricity consumption. This helps us design a solar system that matches your exact energy needs.
Step 2: System Design & Planning
Based on the site assessment, we create a customized solar system layout, including panel capacity, inverter selection, and structural design for maximum efficiency.
Step 3: Approvals & Documentation
We handle all required approvals, permissions, and net metering documentation to ensure a hassle-free installation process.
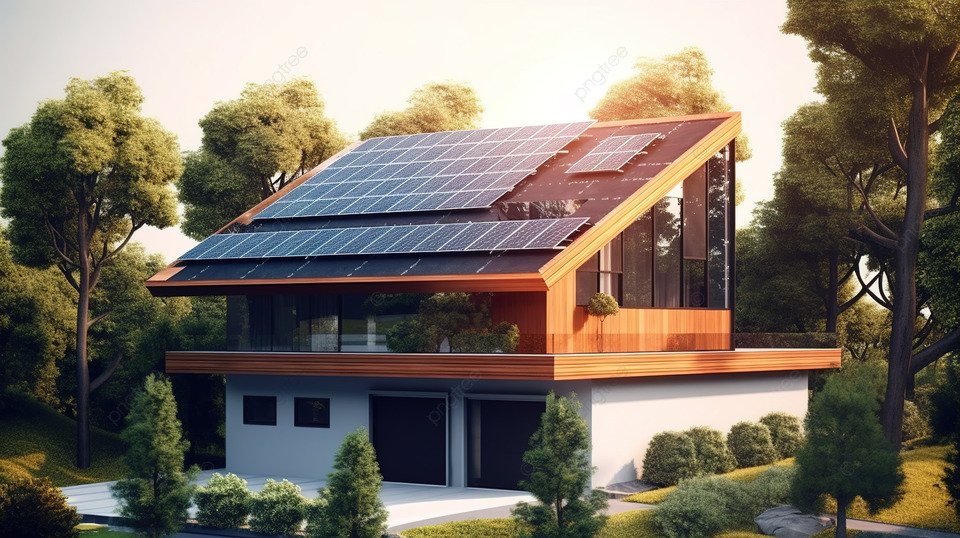
Step 4: Solar Panel Installation
High-quality solar panels are installed securely on rooftops or ground-mounted structures. Wiring and electrical connections are completed following safety standards.
Step 5: Inverter & Electrical Setup
The inverter converts solar energy into usable electricity. The system is connected to the grid or battery storage, depending on the project type.
Step 6: Testing & Commissioning
Before handover, the entire system is tested to ensure optimal performance, safety, and efficiency.
Step 7: Maintenance & Support
After installation, Shreeji Solar provides regular maintenance and long-term support to keep your system running efficiently for years.
Why Choose Shreeji Solar?
- Experienced solar professionals
- High-quality components
- Timely project completion
- Reliable after-sales service